
Underwater Video Settings: How to Configure Frame Rate, Bitrate, and Resolution
Quick Overview (TL:DR): The best underwater video settings depend on your objective and environment. For most inspections, use 30 fps, 40-50 Mbps bitrate, and 1080p resolution. Increase frame rate and resolution for motion tracking or measurement, and reduce settings to save storage during long or low-light deployments.
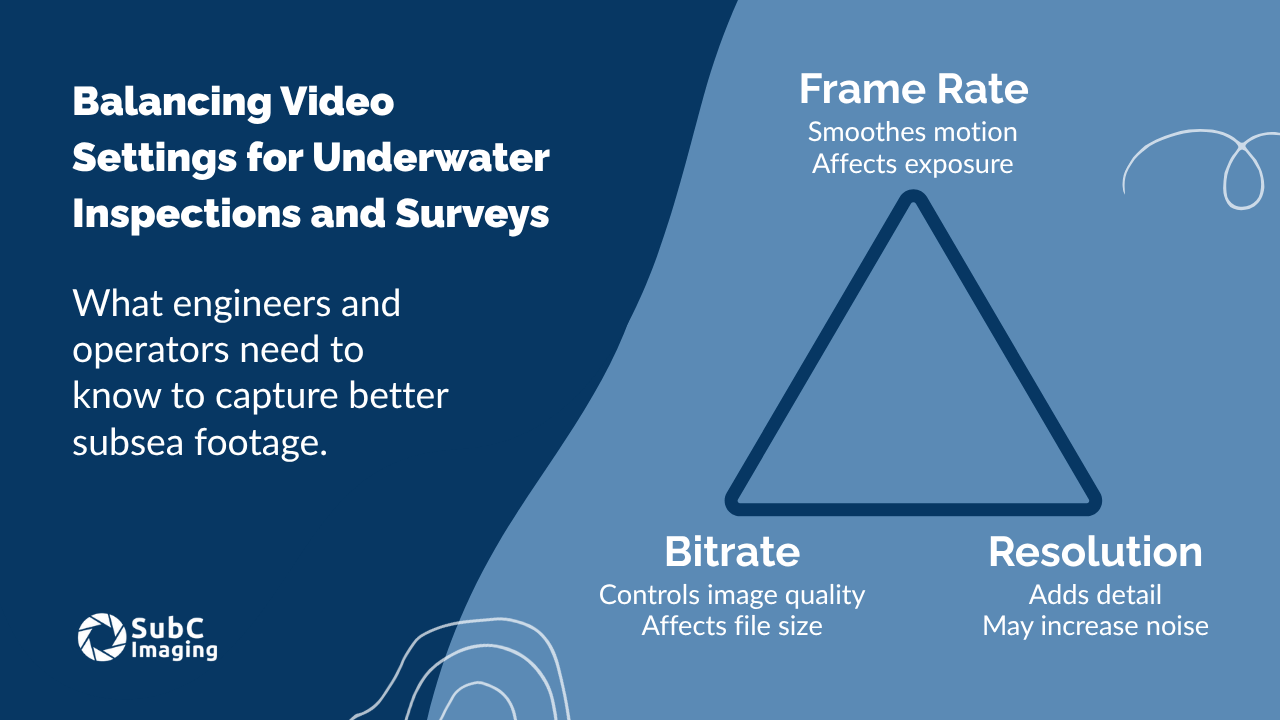
Whether you're performing an offshore inspection, conducting marine research, or monitoring underwater infrastructure, your footage is only as useful as the settings behind it. Frame rate, bitrate, and resolution are the three most critical underwater video settings to configure, but they don’t exist in isolation. Adjusting one can impact the others, and together they affect image quality, data size, and workflow speed.
Instead of guessing or defaulting to maximum values, understanding how these settings work allows you to optimize for your specific subsea environment and mission goals.
What Are Frame Rate, Bitrate, and Resolution?
Here’s what each setting controls:
Frame Rate (fps): The number of images captured per second. Higher frame rates create smoother video and help track motion, but generate more data.
Bitrate (Mbps): The amount of data used to encode each second of video. Higher bitrates preserve more visual detail and reduce compression artifacts but increase file size.
Resolution (pixels): The dimensions of the video (e.g., 1920x1080 for HD, 3840x2160 for 4K). Higher resolution provides more detail, useful for close inspection or zooming in post-process.
How Video Settings Affect Image Quality, Storage, and Post-Processing
Each of the three settings has pros and cons depending on your recording goals and environment.
Frame Rate
Image Quality: High frame rates improve motion clarity but may introduce blur in low-light if exposure time is reduced.
Storage: More frames mean more data. Going from 30 fps to 60 fps can nearly double your file size.
Post-Processing: Large frame counts can slow down review and editing, especially when working with long deployment sessions.
Bitrate
Image Quality: A higher bitrate retains more visual detail and reduces compression issues like pixelation or motion artifacts.
Storage: Bitrate is the primary driver of file size. Doubling the bitrate doubles your storage needs.
Post-Processing: Low-bitrate footage may lose detail, limiting frame grabs or measurement accuracy.
Resolution
Image Quality: Higher resolution captures more visual detail, but in murky or dark water, it may simply amplify noise.
Storage: More pixels means larger files. This is especially important to manage in long-term monitoring or deep-sea deployments when you only have internal camera storage.
Post-Processing: High-resolution video allows for digital zooming or cropping, but can slow down rendering or transfer times.
Real-World Trade-Offs in Subsea Scenarios
Here’s how these underwater video settings play out in typical conditions:
1. High Turbidity or Particulate Matter
Recommended: Moderate resolution (e.g., 1080p) with high bitrate.
Why: Higher resolution won’t help if visibility is poor. Bitrate is more valuable to retain clarity through the distortion.
Tip: Consider using filtering, image enhancement, and lighting adjustments alongside bitrate tuning.
2. High-Motion Targets (e.g., ROV fly-throughs or swimming fauna)
Recommended: Higher frame rate (e.g., 60 fps), moderate bitrate.
Why: Smoother footage makes it easier to track and analyze motion.
Tip: Only increase resolution if details are essential; otherwise, it just adds file size.
3. Long-Term Deployments or Autonomous Timelapse
Recommended: Lower frame rate and bitrate, potentially lower resolution depending on target.
Why: Conserves storage and power.
Tip: Balance visual needs with available onboard storage and mission duration.
Recommended Settings by Objective
| Objective | Frame Rate | Bitrate | Resolution |
|---|---|---|---|
| General Visual Inspection | 30 fps | 16–24 Mbps | 1080p |
| Laser Measurement | 60 fps | 24–40 Mbps | 4K (for accuracy) |
| Biological Studies | 30–60 fps | 20–30 Mbps | 1080p–4K |
| Deep Deployments | 24–30 fps | 8–16 Mbps | 720p–1080p |
| Time-Lapse Monitoring | Variable | 6–12 Mbps | 720p–1080p |
Note: Settings should be adjusted based on environmental conditions and equipment capabilities.
How SubC Imaging’s Systems Simplify Underwater Video Optimization
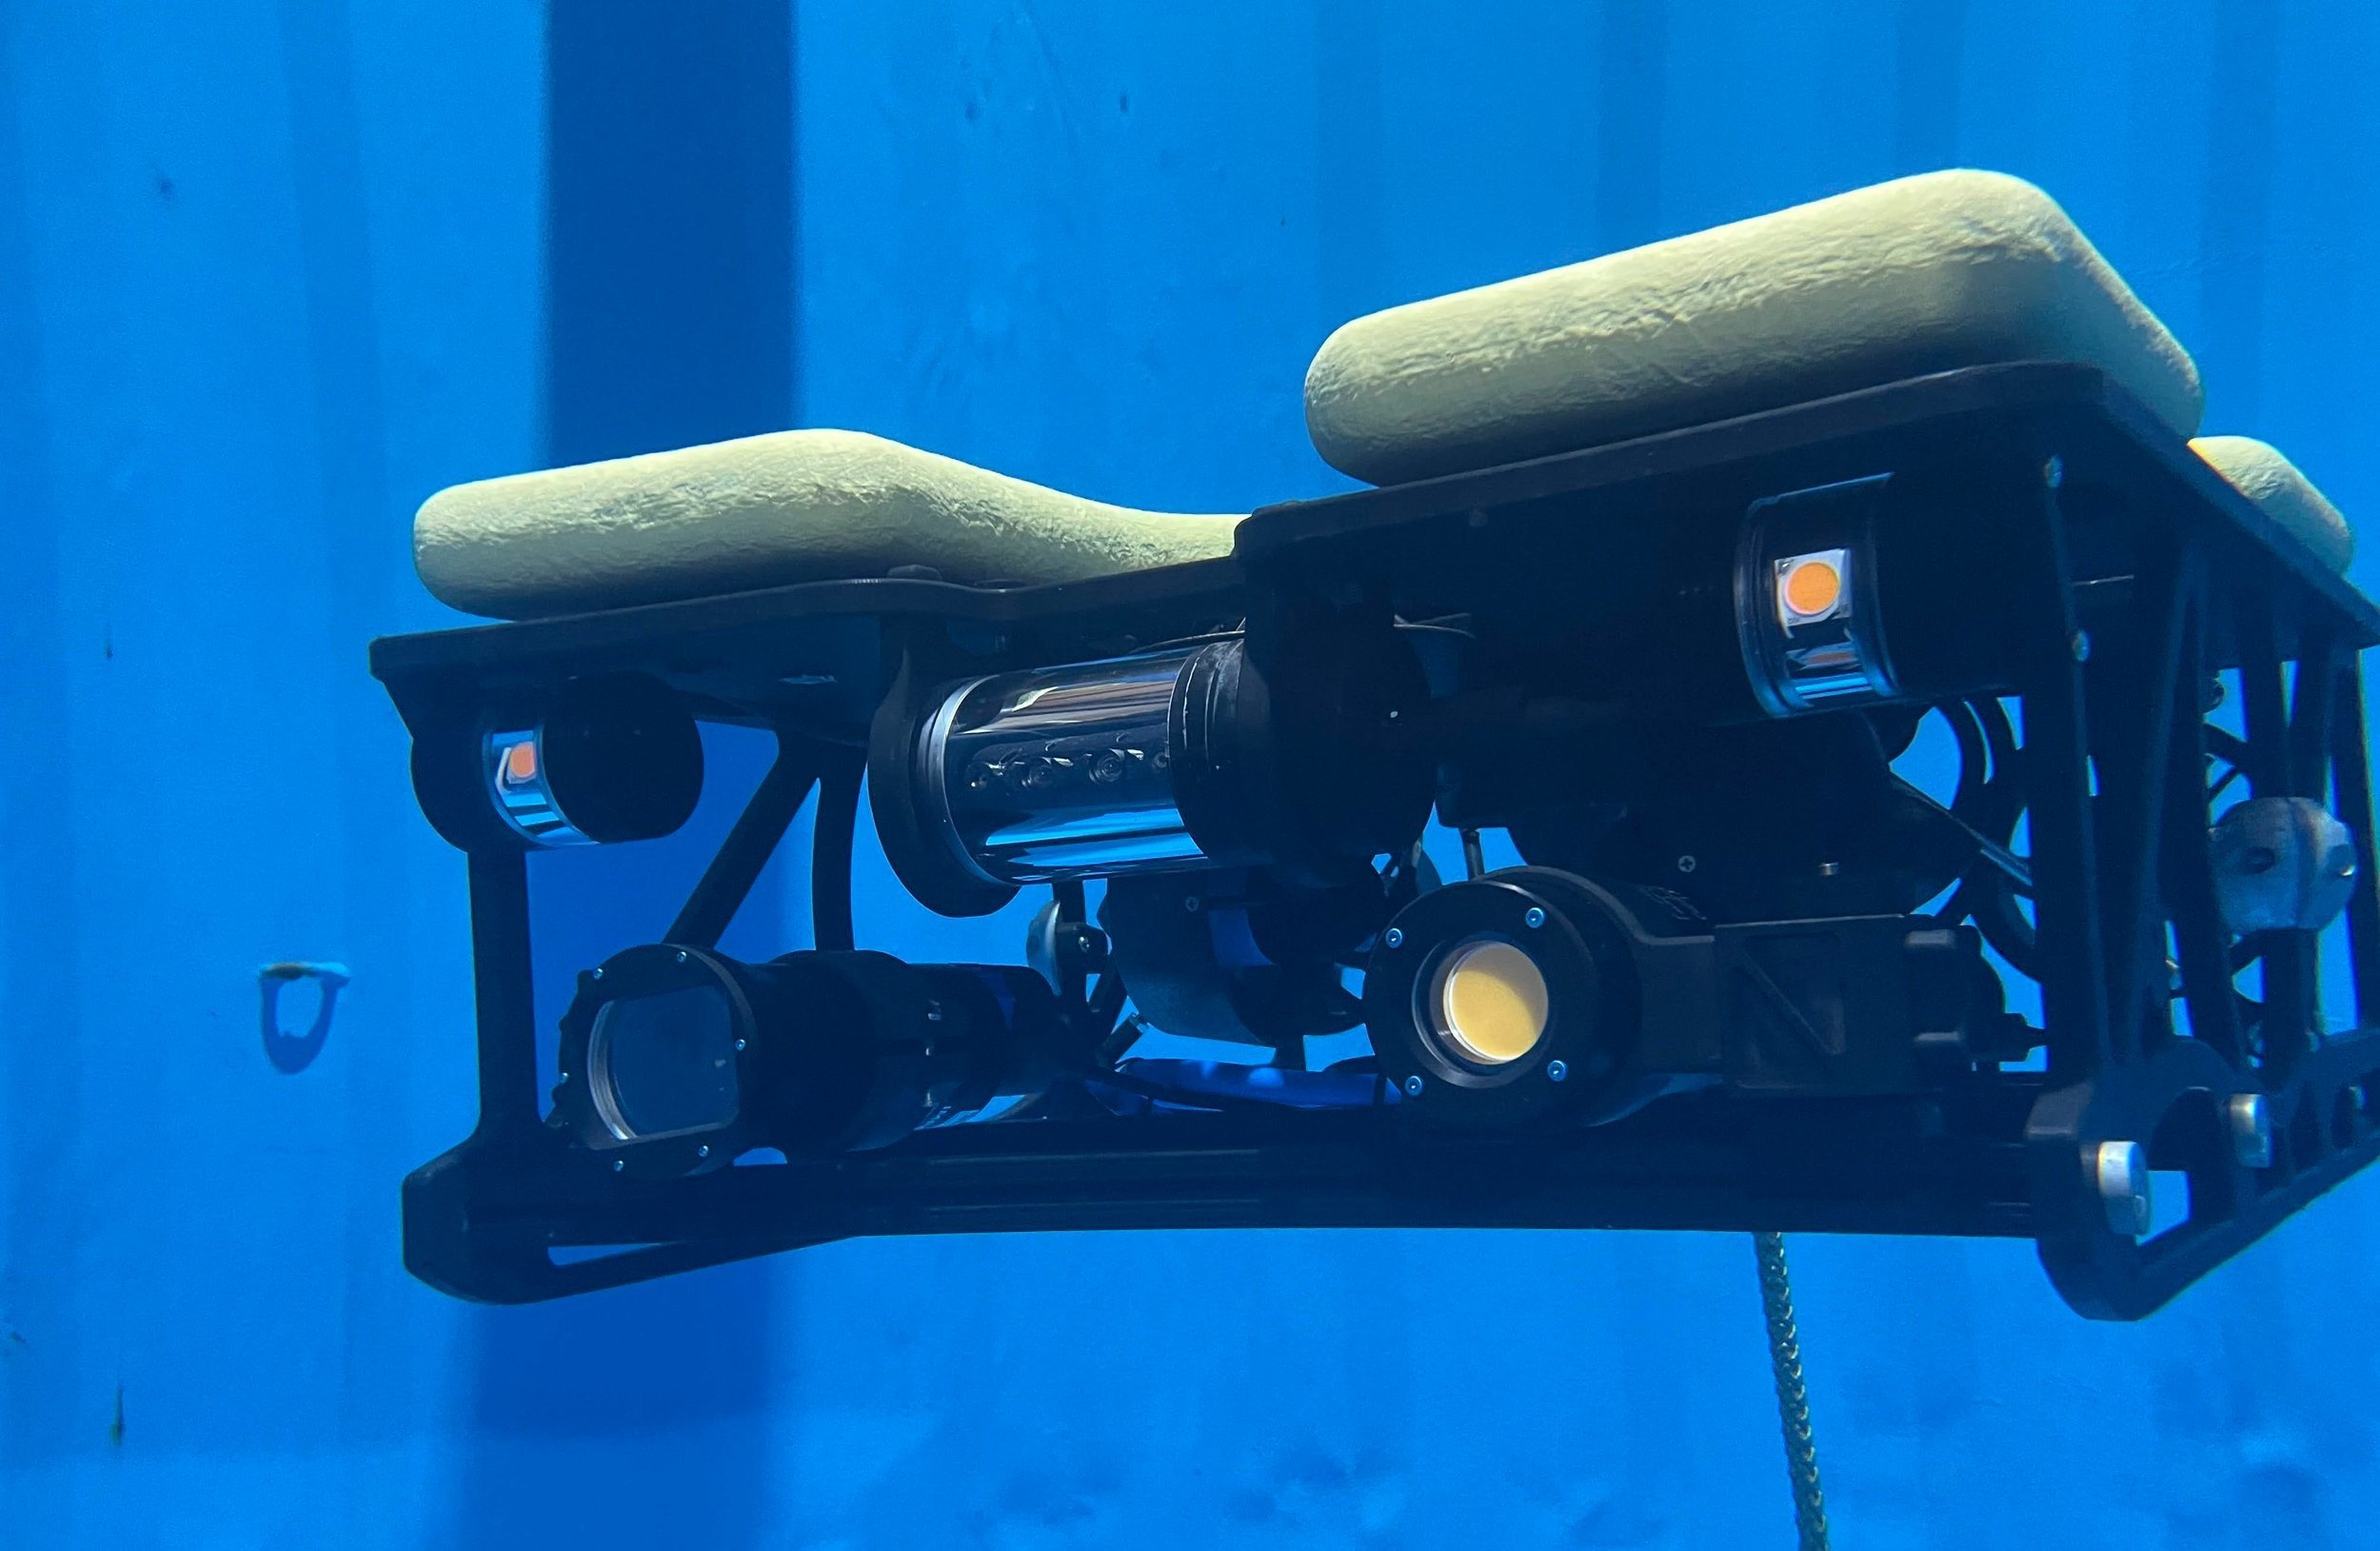
SubC Imaging cameras and systems are designed to give users control over their video settings without the guesswork. Whether you're using a Rayfin camera for real-time inspections or an autonomous system for long-term deployment, you can easily:
Adjust bitrate and resolution in the field
Monitor visual results in real time
Balance recording modes for internal and topside storage
Apply presets for different mission types
These features help engineers and operators get the footage they need while minimizing post-processing and storage headaches.
Conclusion
Optimizing your underwater video settings isn’t about compromise; it’s about control. With a solid understanding of frame rate, bitrate, and resolution, and tools that let you adjust them on the fly, you can capture high-quality footage that’s tailored to your goals and environment.
Need Help Configuring Your Video System?
SubC Imaging can help you match the right settings to your platform and inspection goals.